
Today we have technology at our fingertips that people only dreamed about in the past. So why not use it to our advantage when practising and composing?
A DAW (digital audio workstations) is software used for multi-track recording. You can start using one straight away without the need for professional studio gear. Creating your own backing tracks has numerous benefits. You will be building upon your songwriting abilities, while challenging your theoretical knowledge at the same time.
The best way to illustrate this is to walk you through an example. My DAW of choice is Reaper because its free for private use. I will also make use of freely available VST plugins.
1 – Build a groove
As a starting point, a drum track provides a great foundation to build upon.
I’m going to use a free plugin called MT Power Drum Kit. It has a groove section that allows you to drag and drop midi drum beats into the workstation.
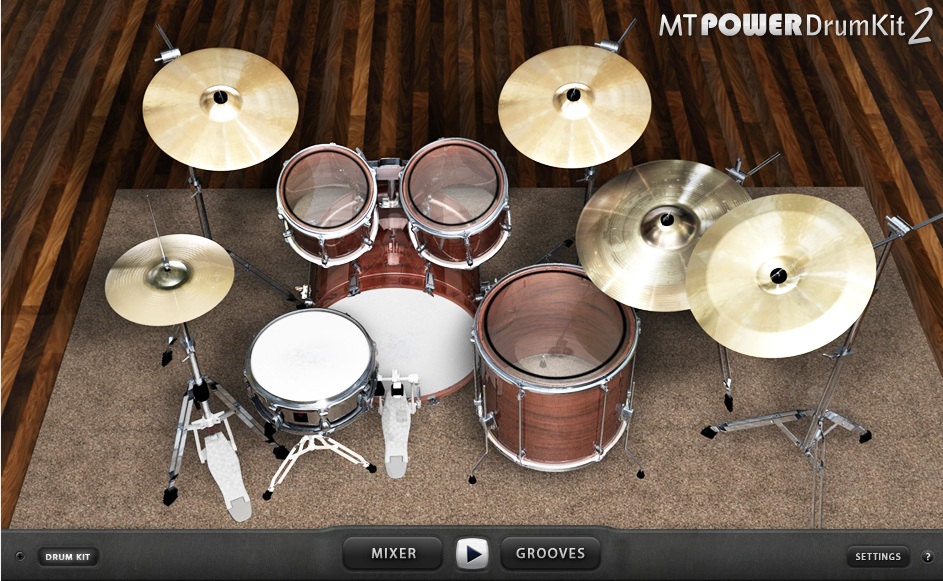
Provided you have installed the plugin into the correct directory, it can be added to Reaper by selecting:
Insert > Virtual instrument on new track…
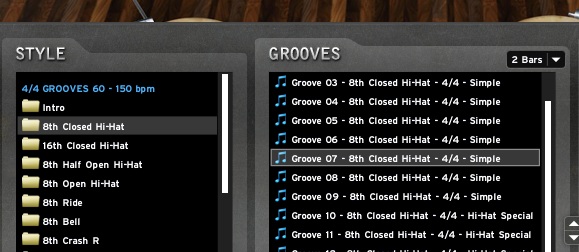
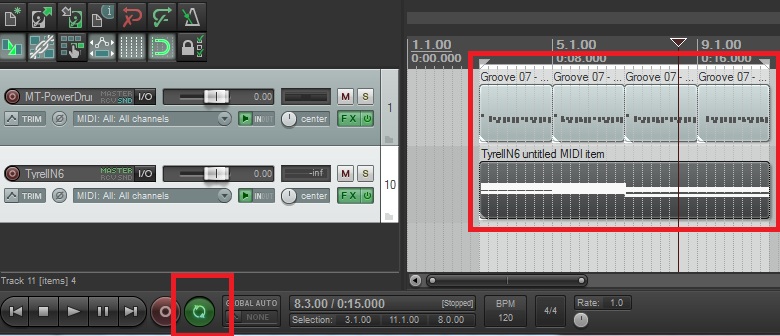
I’m going to use groove 7 from the 4/4 closed hi-hat section. I’ve also set it to 2 bars. I’m going to duplicate the groove 4 times, for a total of 8 bars.
2 – Define chords
To define the chords, I’m going to use a free plugin called TyrellN6. I will be using a pad/synth type sound. I’m using the ‘Influx Pad’ preset. I modified ‘shape 1’ under the oscillators section.
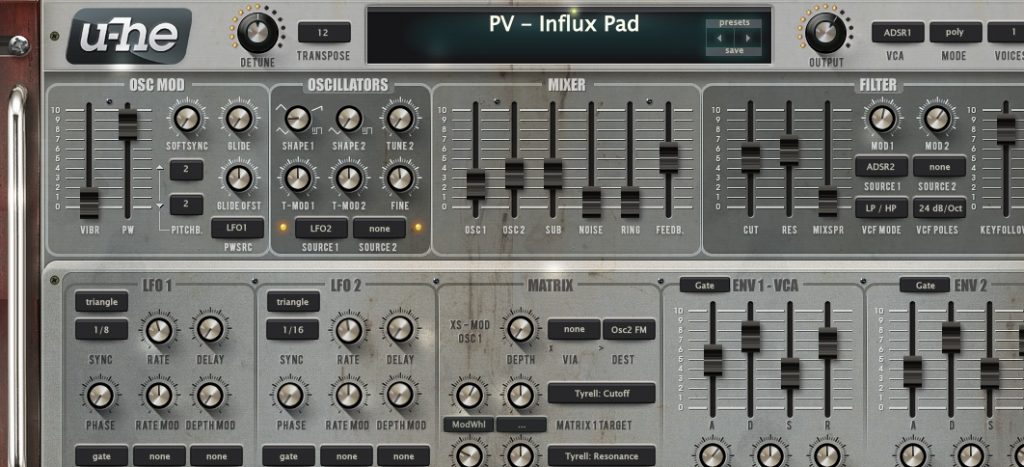
There are tons of free plugins in this category. Simply go out and find ones that you like, however you should aim to spend more time on music creation rather than sound searching.
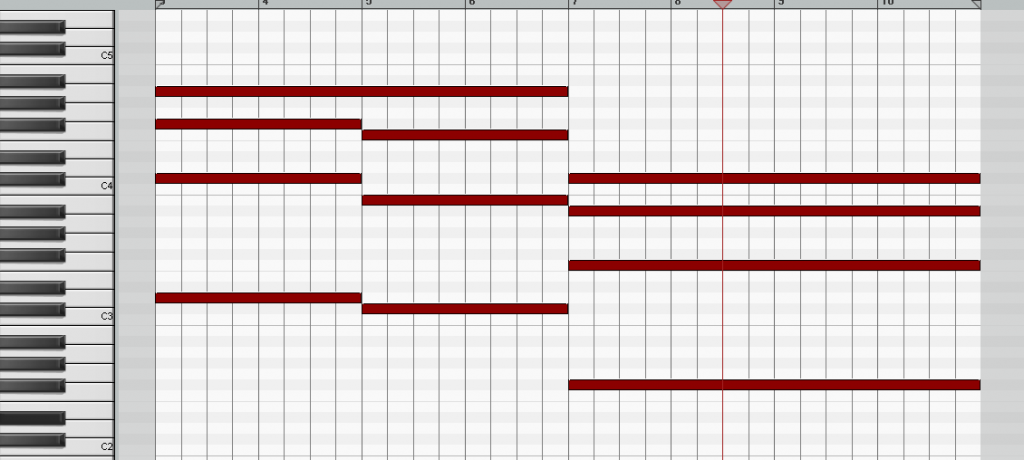
I’m now going to select a few chords that I can experiment with over the drum track. I’ve chosen Dmaj7, C#7(b13) and F#maj7. These chords are quickly programmed into Reaper with the midi editor. I’m simply using notes from guitar chord shapes that I know.
3 – Create melodies
Once you have defined some chords, you can use them as a basis to come up with melodies. This is done by highlighting the notes of each chord with your melody lines.
You can set your DAW to loop the segment you have just programmed, so it’s more like a continuous recording. In Reaper, select the required region and hit the ‘Toggle Repeat’ button.
To follow the chords I outlined in the previous step, you can use the F# minor pentatonic scale for the first 4 bars (Dmaj7 and C#7b13), and the F# major scale for the next 4 (F#maj7).
Of course nothing is stopping you from starting with the melody and then adding the chords afterwards. You should always experiment with more than one way of doing things.
4 – Build a portfolio
Essentially you should have your guitar signal present in your DAW so that you can simply hit the record button and instantly store the ideas you’ve come up with.
If you have a basic soundcard, you could make use of the line-in port. To get the best results, you will need a high quality audio interface, preferably one that allows for low latency tracking through plugins. There are numerous plugins available that can emulate an amplifier directly in your DAW.
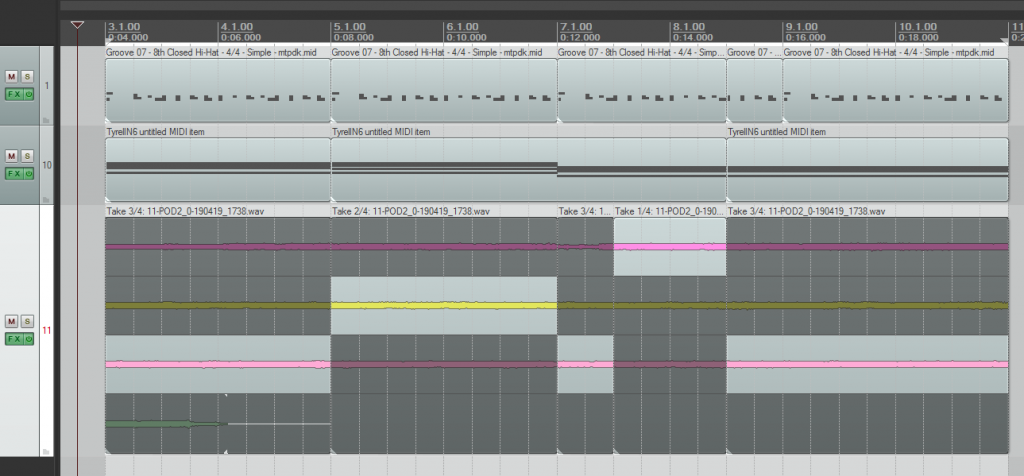
In most DAW’s you can record multiple takes on the same track. This can be done by looping a segment and then recording continuously until you’re satisfied. Afterwards, you can select your favorite take or create a mashup of various takes (the latter seen below).
Once you have built up a portfolio of ideas, you will be able to use them to create full songs.